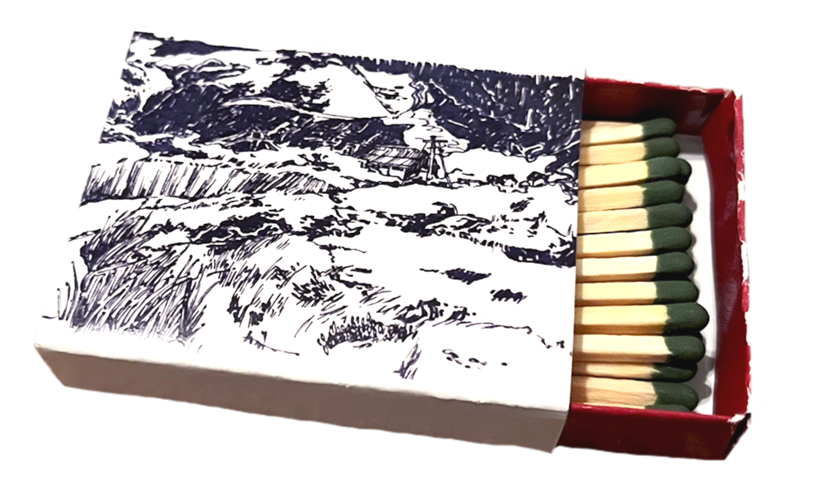
Matchbox project
A passion project developed using hand-drawn illustrations, print materials, and high-strength adhesive.
All materials were edited and formatted using Canva.
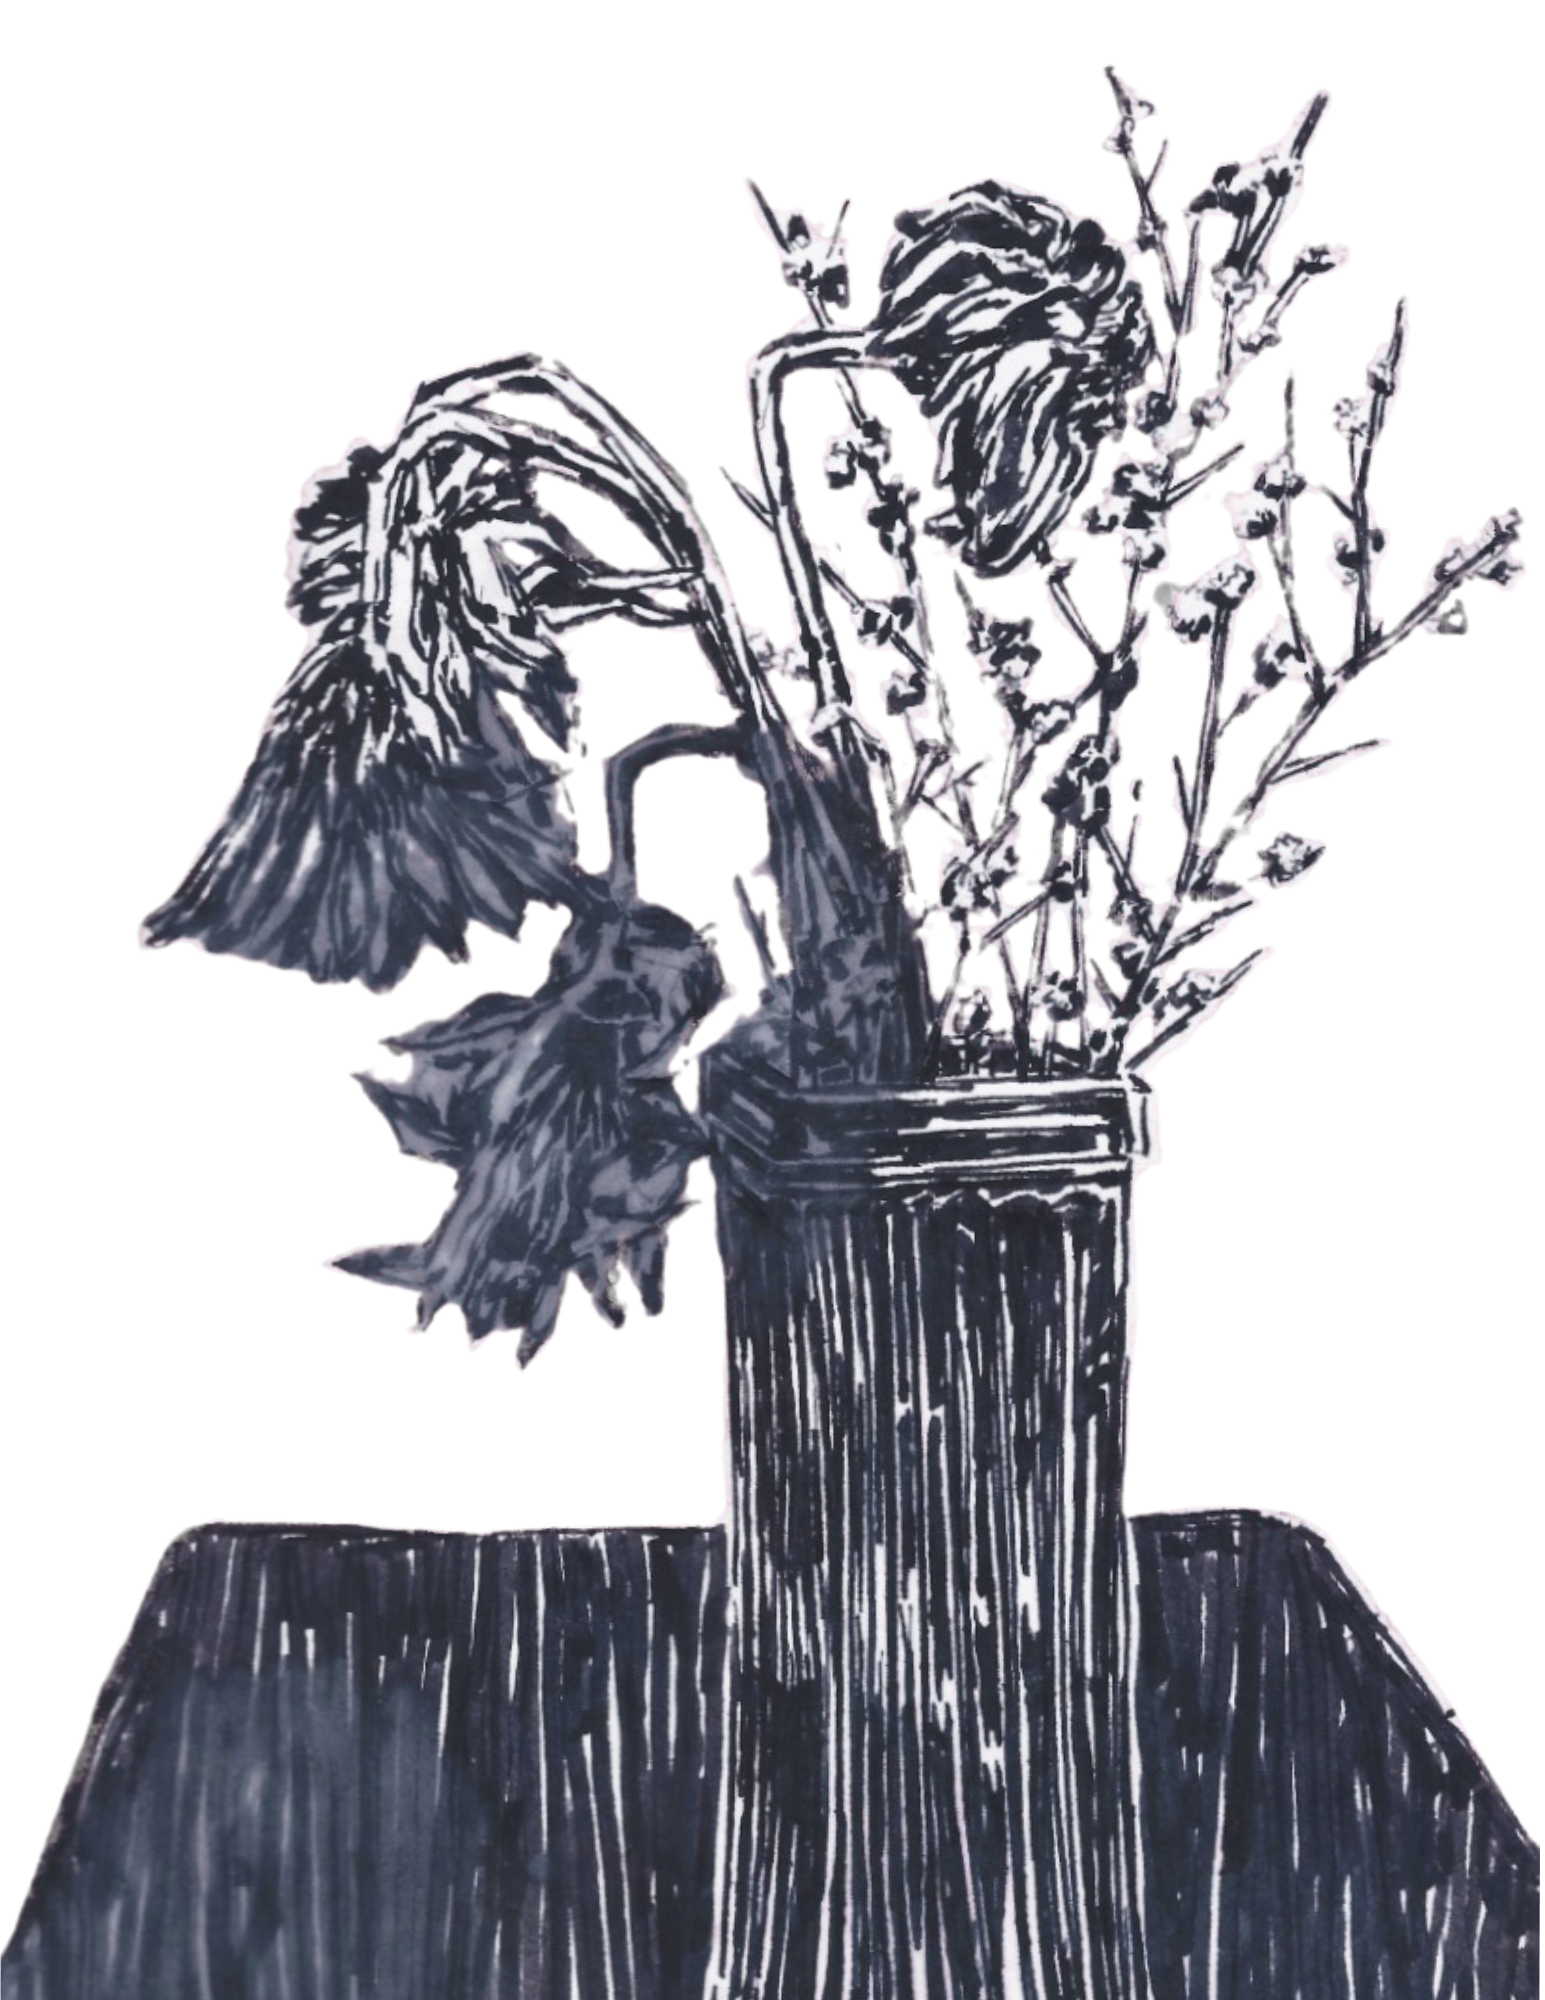
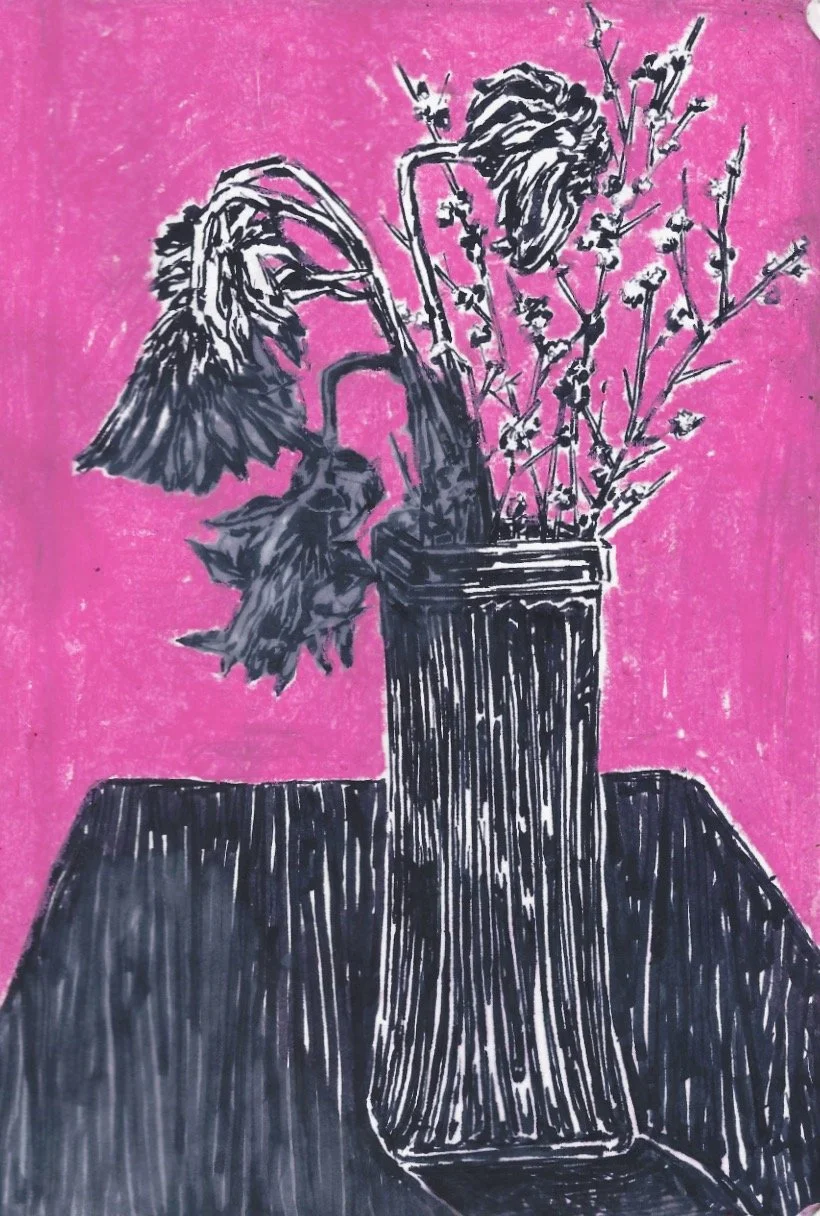
Image editing
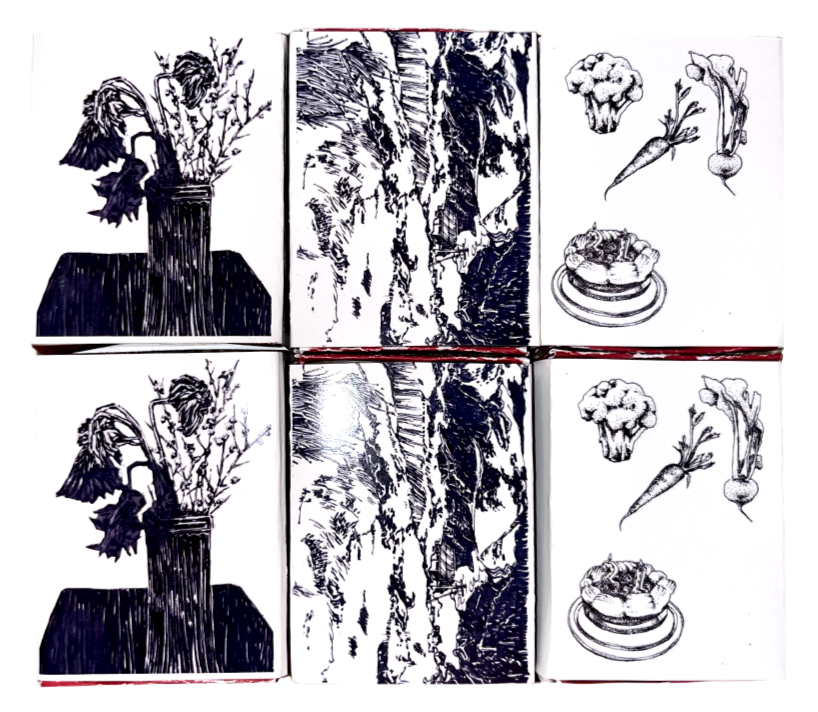
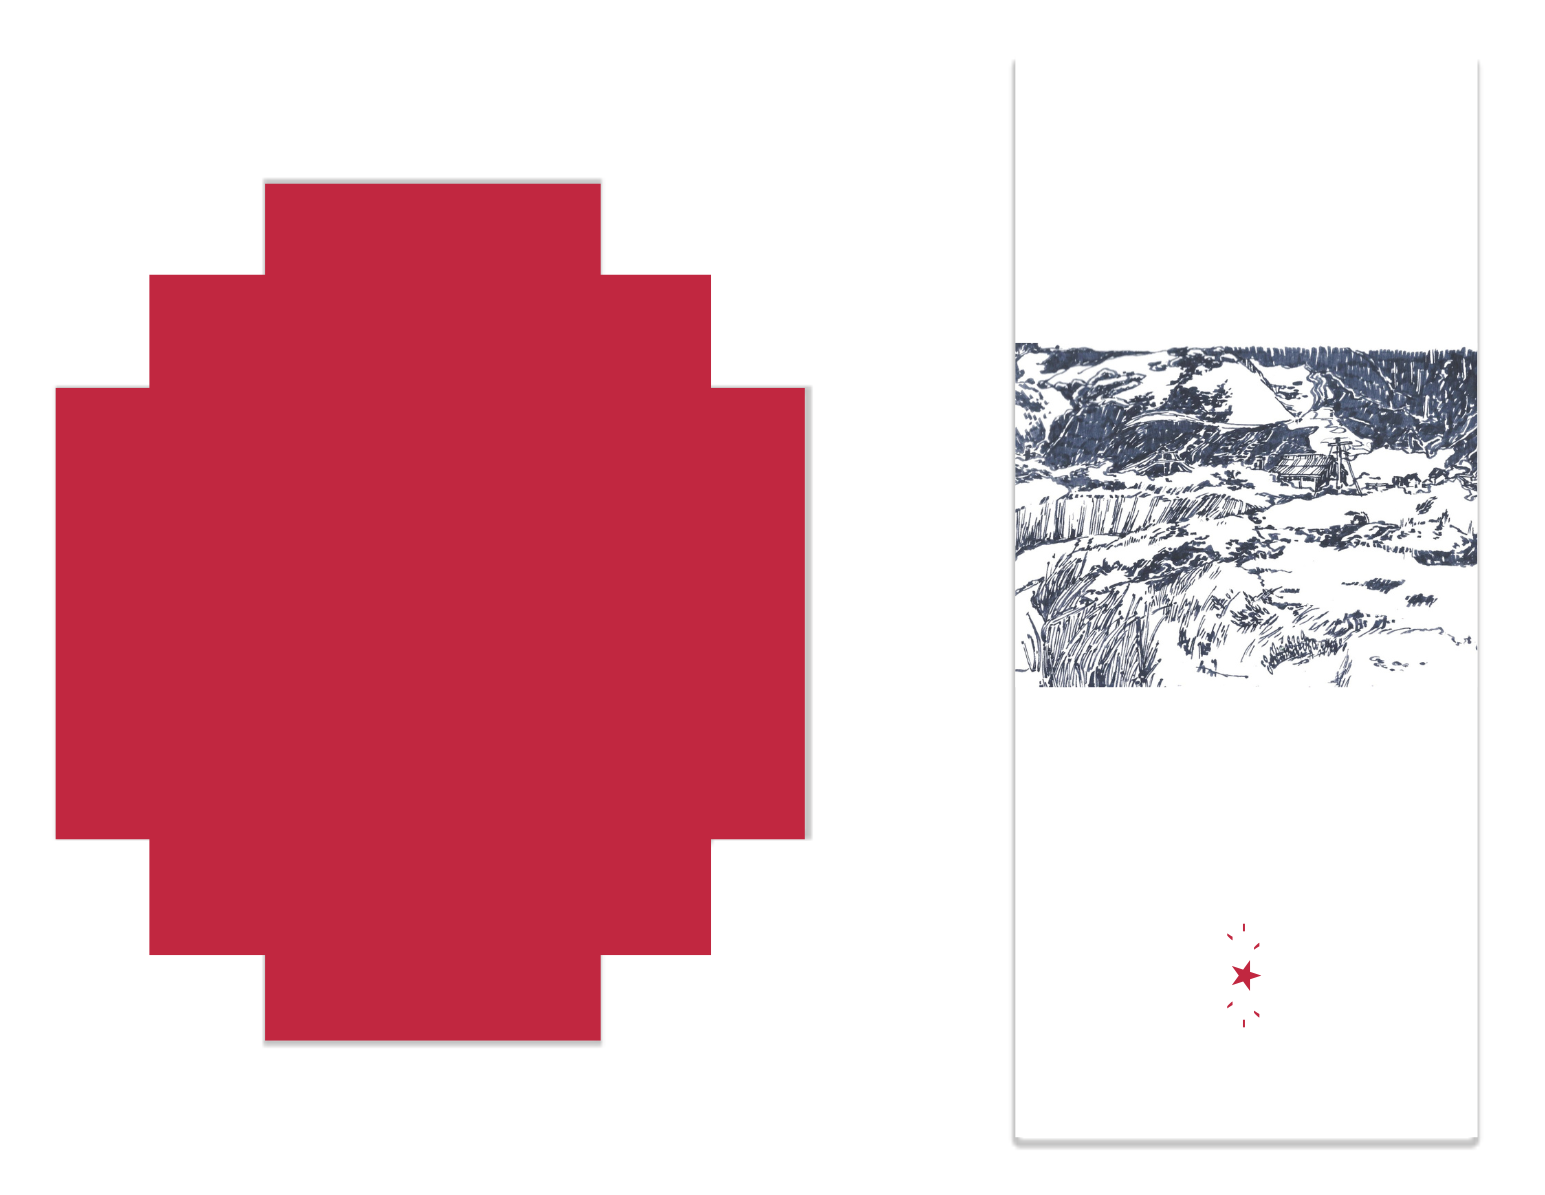
After selecting drawings from my sketchbook, I refined and edited the images to prepare them for packaging.
Using Canva, I removed any unnecessary elements from the sketches, including backgrounds, deepening black values, and ensuring consistent color treatment across all matchboxes.
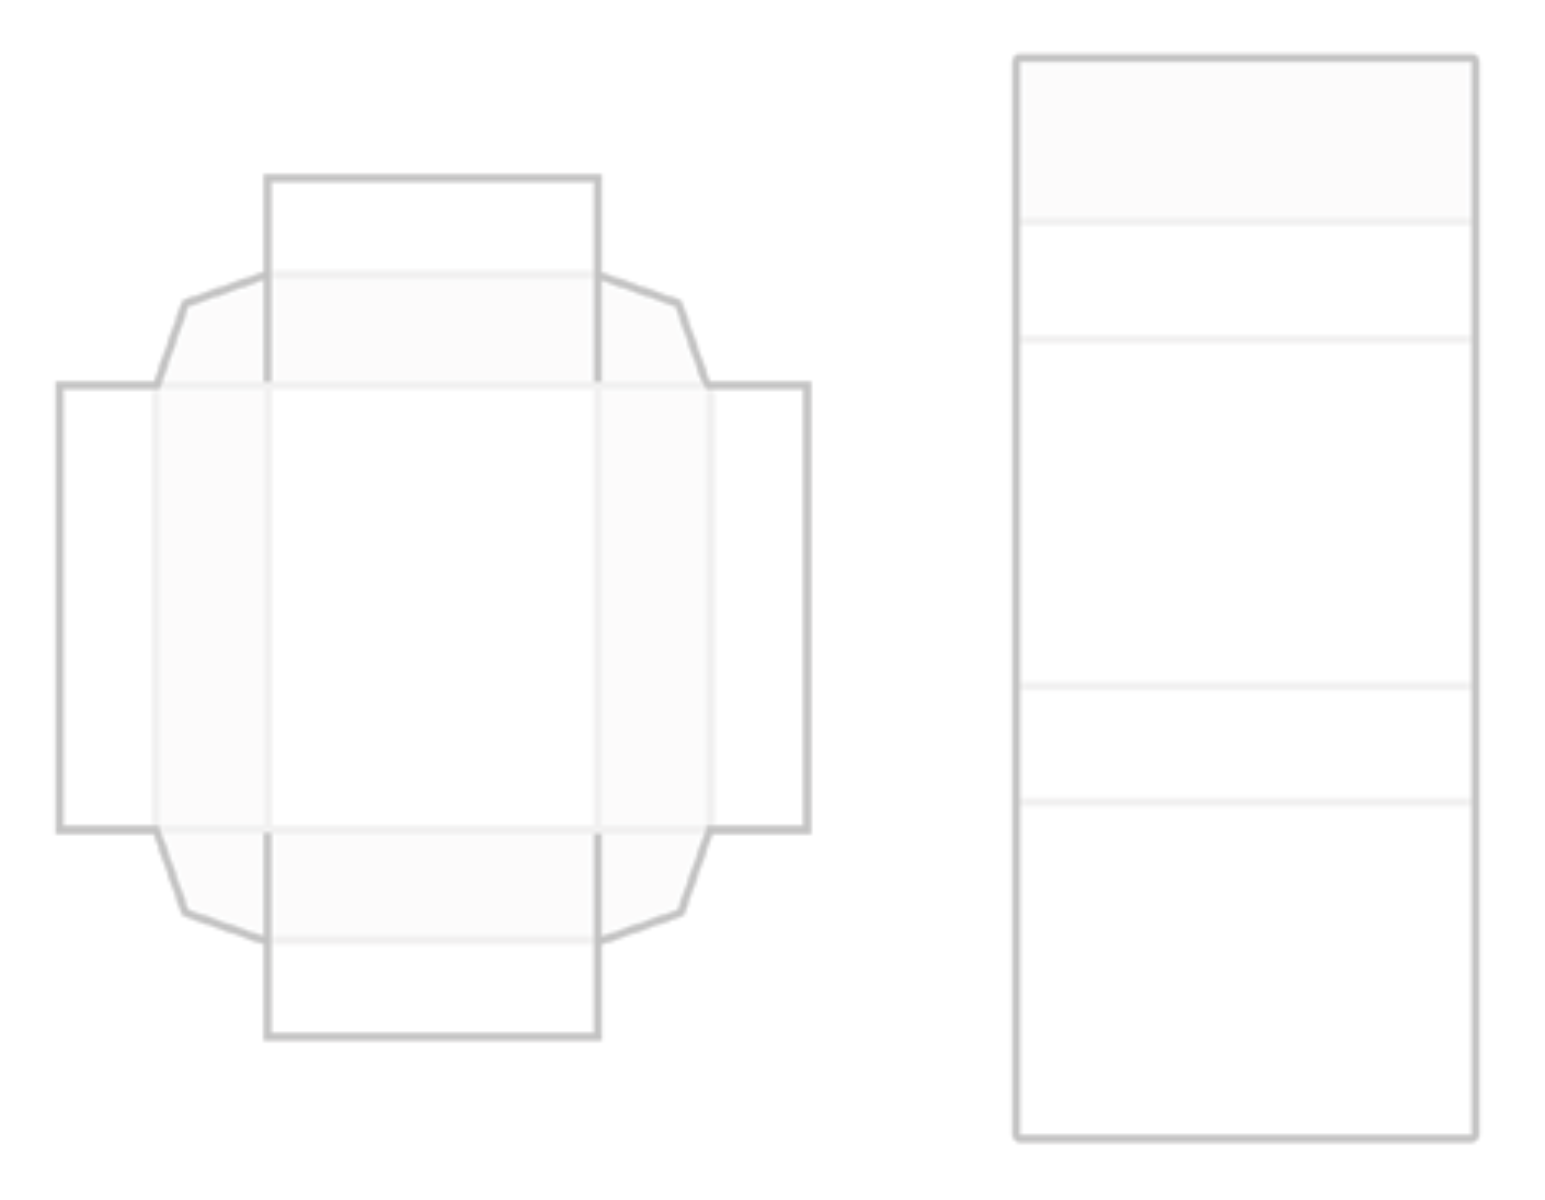
Formatting
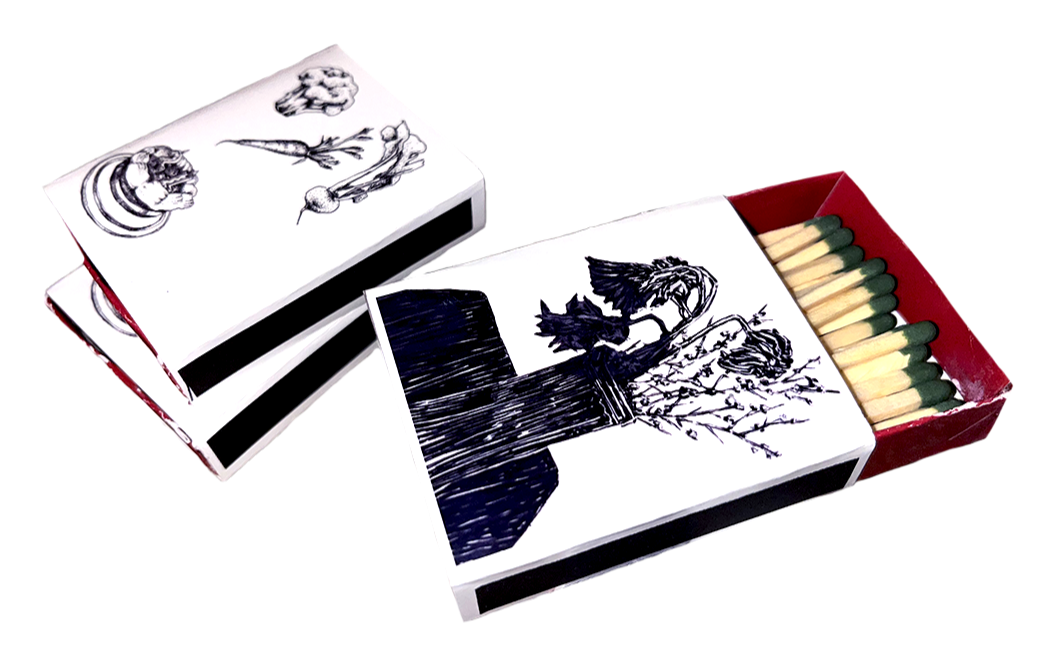
Once the artwork was finalized, I sourced an online matchbox template and reformatted the images to fit the required dimensions, resulting in print-ready files.
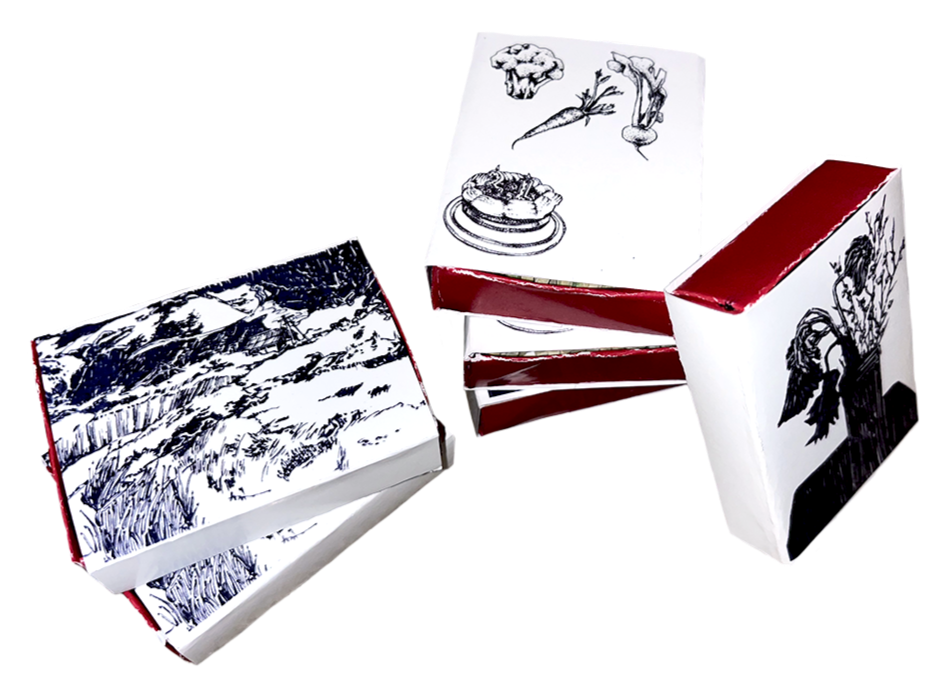
Assembling
After visiting a local print shop, I obtained high-quality, glossy cardstock printouts.
Following the template’s fold pattern, I carefully cut out each piece and assembled the boxes, using a strong adhesive to secure the folds.
Final designs
Refining the process
Although the project was successful in many respects, several challenges emerged that would influence how the process would be approached in a future iteration.
The primary issue occurred during assembly. The use of glossy cardstock prevented the ink from fully absorbing into the paper, and when combined with superglue, this caused the ink (particularly red tones) to smear and lift from the surface. In future versions, this issue could be mitigated by selecting a matte cardstock and using a craft adhesive such as PVA or tacky glue, which is less reactive with printed ink.
A secondary challenge arose during the folding process. Due to the thickness of the cardstock, folding by hand caused the printed surface to crack, exposing the white paper beneath the ink. This can be avoided in future projects by scoring all fold lines prior to assembly and using a bone folder to create clean folds while following the paper’s grain. Additionally, choosing a less dense, matte cardstock would further reduce the risk of tearing and color loss.